INTRODUCTION
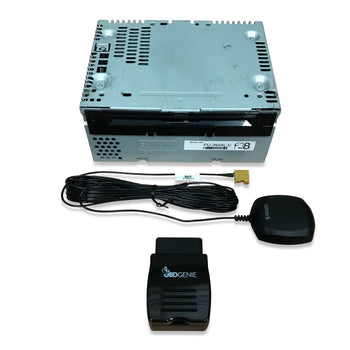
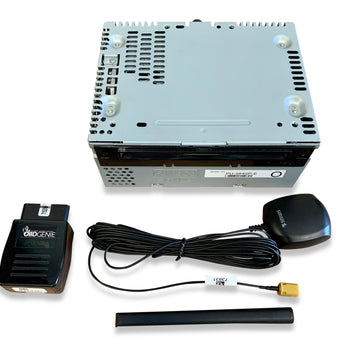
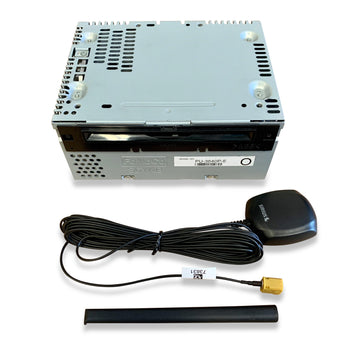
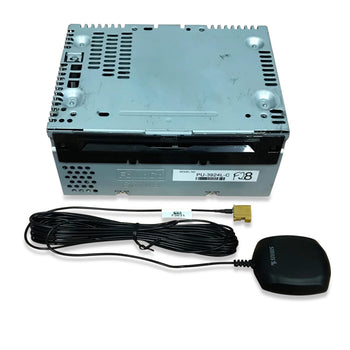
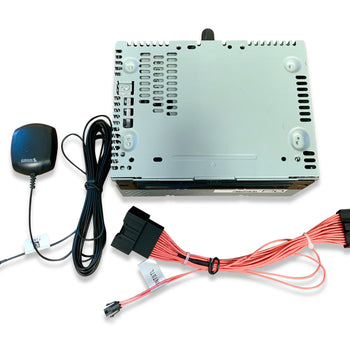
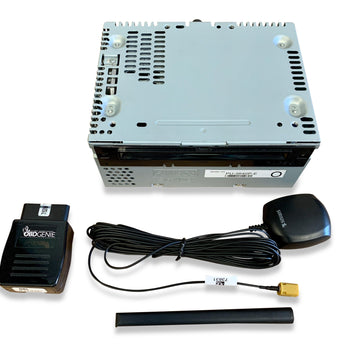
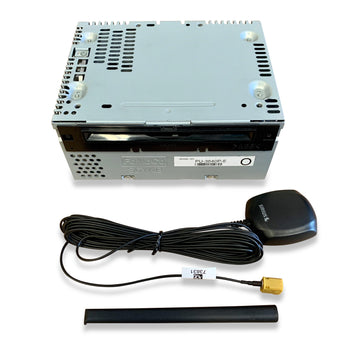
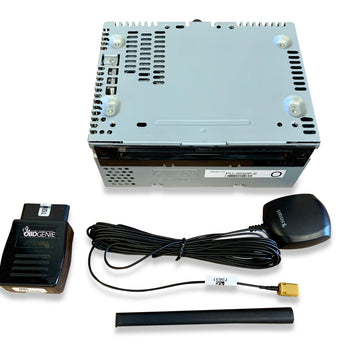
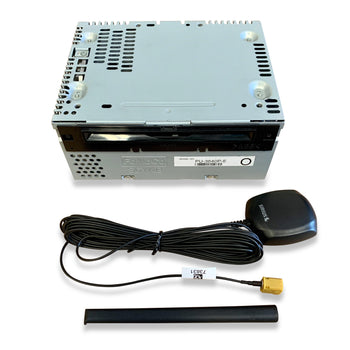
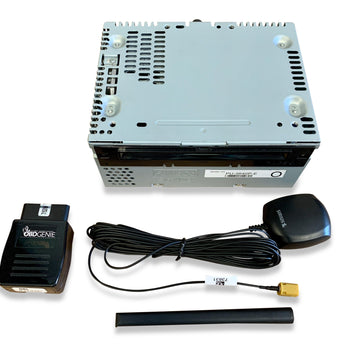
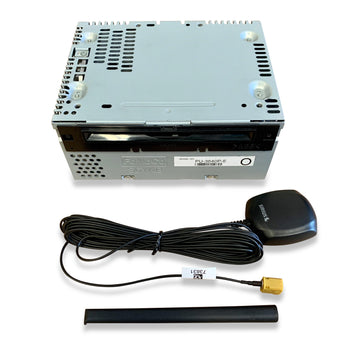
Are you interested in adding SiriusXM® satellite radio to your Ford F-150 truck? Look no further than Infotainment.com. We offer pre-programmed plug & play factory OEM radio upgrades that feature a built-in SiriusXM satellite radio tuner. Compatible with both the 4-inch radio display and the 8-inch radio display.
Optional HD® Radio
Now offering SiriusXM satellite radio upgrades with optional integrated HD® Radio! If you would like to take advantage of HD Radio be sure to select it before adding the kit to your cart. Please note - HD Radio is compatible only with 8-inch radio displays.
Antenna Options
Factory OEM Roof Mount - This antenna is a 100% factory OEM Ford® part. It is designed to be installed on your vehicle's roof. Great option for those who want a factory fit & finish. Drilling is required, recommended for an experienced DIY installer.
Aftermarket Magnetic Mount - This high-quality aftermarket antenna magnetically installs on the exterior of the vehicle. Great option for a novice DIY installer.
Programming Options
Once the kit is installed you will need to program your vehicle's factory installed radio display. This is needed so the SiriusXM option appears on-screen. A programming fob by OBD Genie will be required to perform the programming procedure in your vehicle. However, you will not need this programmer if you are upgrading from a 4-inch to 8-inch MyFord Touch or Sync 3 system from Infotainment.com. We will pre-program the system prior to shipping. Be sure to select the appropriate option before adding the kit to your cart.
VEHICLE COMPATIBILITY
2013-2014 Ford F-150
-
Please let us know your vehicle's year/make/model and 17-digit VIN upon checkout using our Compatibility Guarantee form. What's This?
- If you don't see your vehicle listed, use our Year/Make/Model search located towards the top of your screen to find products tailored to your specific vehicle!
INSTALLATION
Installation of this product would be rated a 3 out of 5. 1 being extremely easy and 5 being extremely difficult. Simply remove your vehicle's CD Player / ACM. Remove the brackets on each side of your vehicle's CD Player / ACM and install them on the replacement unit. Install the desired antenna (see below). Start the vehicle and after 30 seconds insert the OBDGenie F-SAT programmer into the vehicle's OBDII port (under the steering column) and wait for the green light. Remove the OBDGenie programmer and stow away. It's that easy!
Factory OEM Roof Mount Installation - Drill a small hole in a location that isn't near a roof crossbar. Route the antenna wiring into the hole and secure the antenna to the roof on the underside with the included 10mm blot and claw clip. Route the wiring loom to the radio ACM module location. Swap modules and install the antenna connector to the curry/yellow FAKRA connector.

Magnetic Mount Installation - Refer to basic install instructions below. CLICK HERE for additional help determining how and where to install your magnetic satellite radio antenna.

THINGS TO KNOW
- The factory OEM antenna features a textured black (non-painted) housing.
- Once installed, to access the satellite radio menu on the 4-inch radio display simply press MENU, the back button (<), then select Sirius.
- In some cases we've had customers install the satellite radio antenna on top of their dash (just beneath the windshield). This results in little to no signal interruptions. Infotainment does not recommend doing this but it is a viable option for those to deem it necessary.
- This kit is compatible with the 4-inch & 8-inch radio displays. If you do not have a display (found in many XLs) this kit is not compatible. See our Sync 1 GPS Navigation Radio Upgrade.
![banner right]()
![banner right]()


